
 from LA Readers blog.")

I had promised back in one of the parts of Watering 102 (see parts one, two and three of that massive tome here) to write a little about growing media, and how to select or make one yourself in order to grow great plants. There are several aspects to consider that will help you make the best choice as far as what to use, and a lot depends on the type of plants you grow, how heavily/frequently you water, and environmental factors such as heat and humidity.
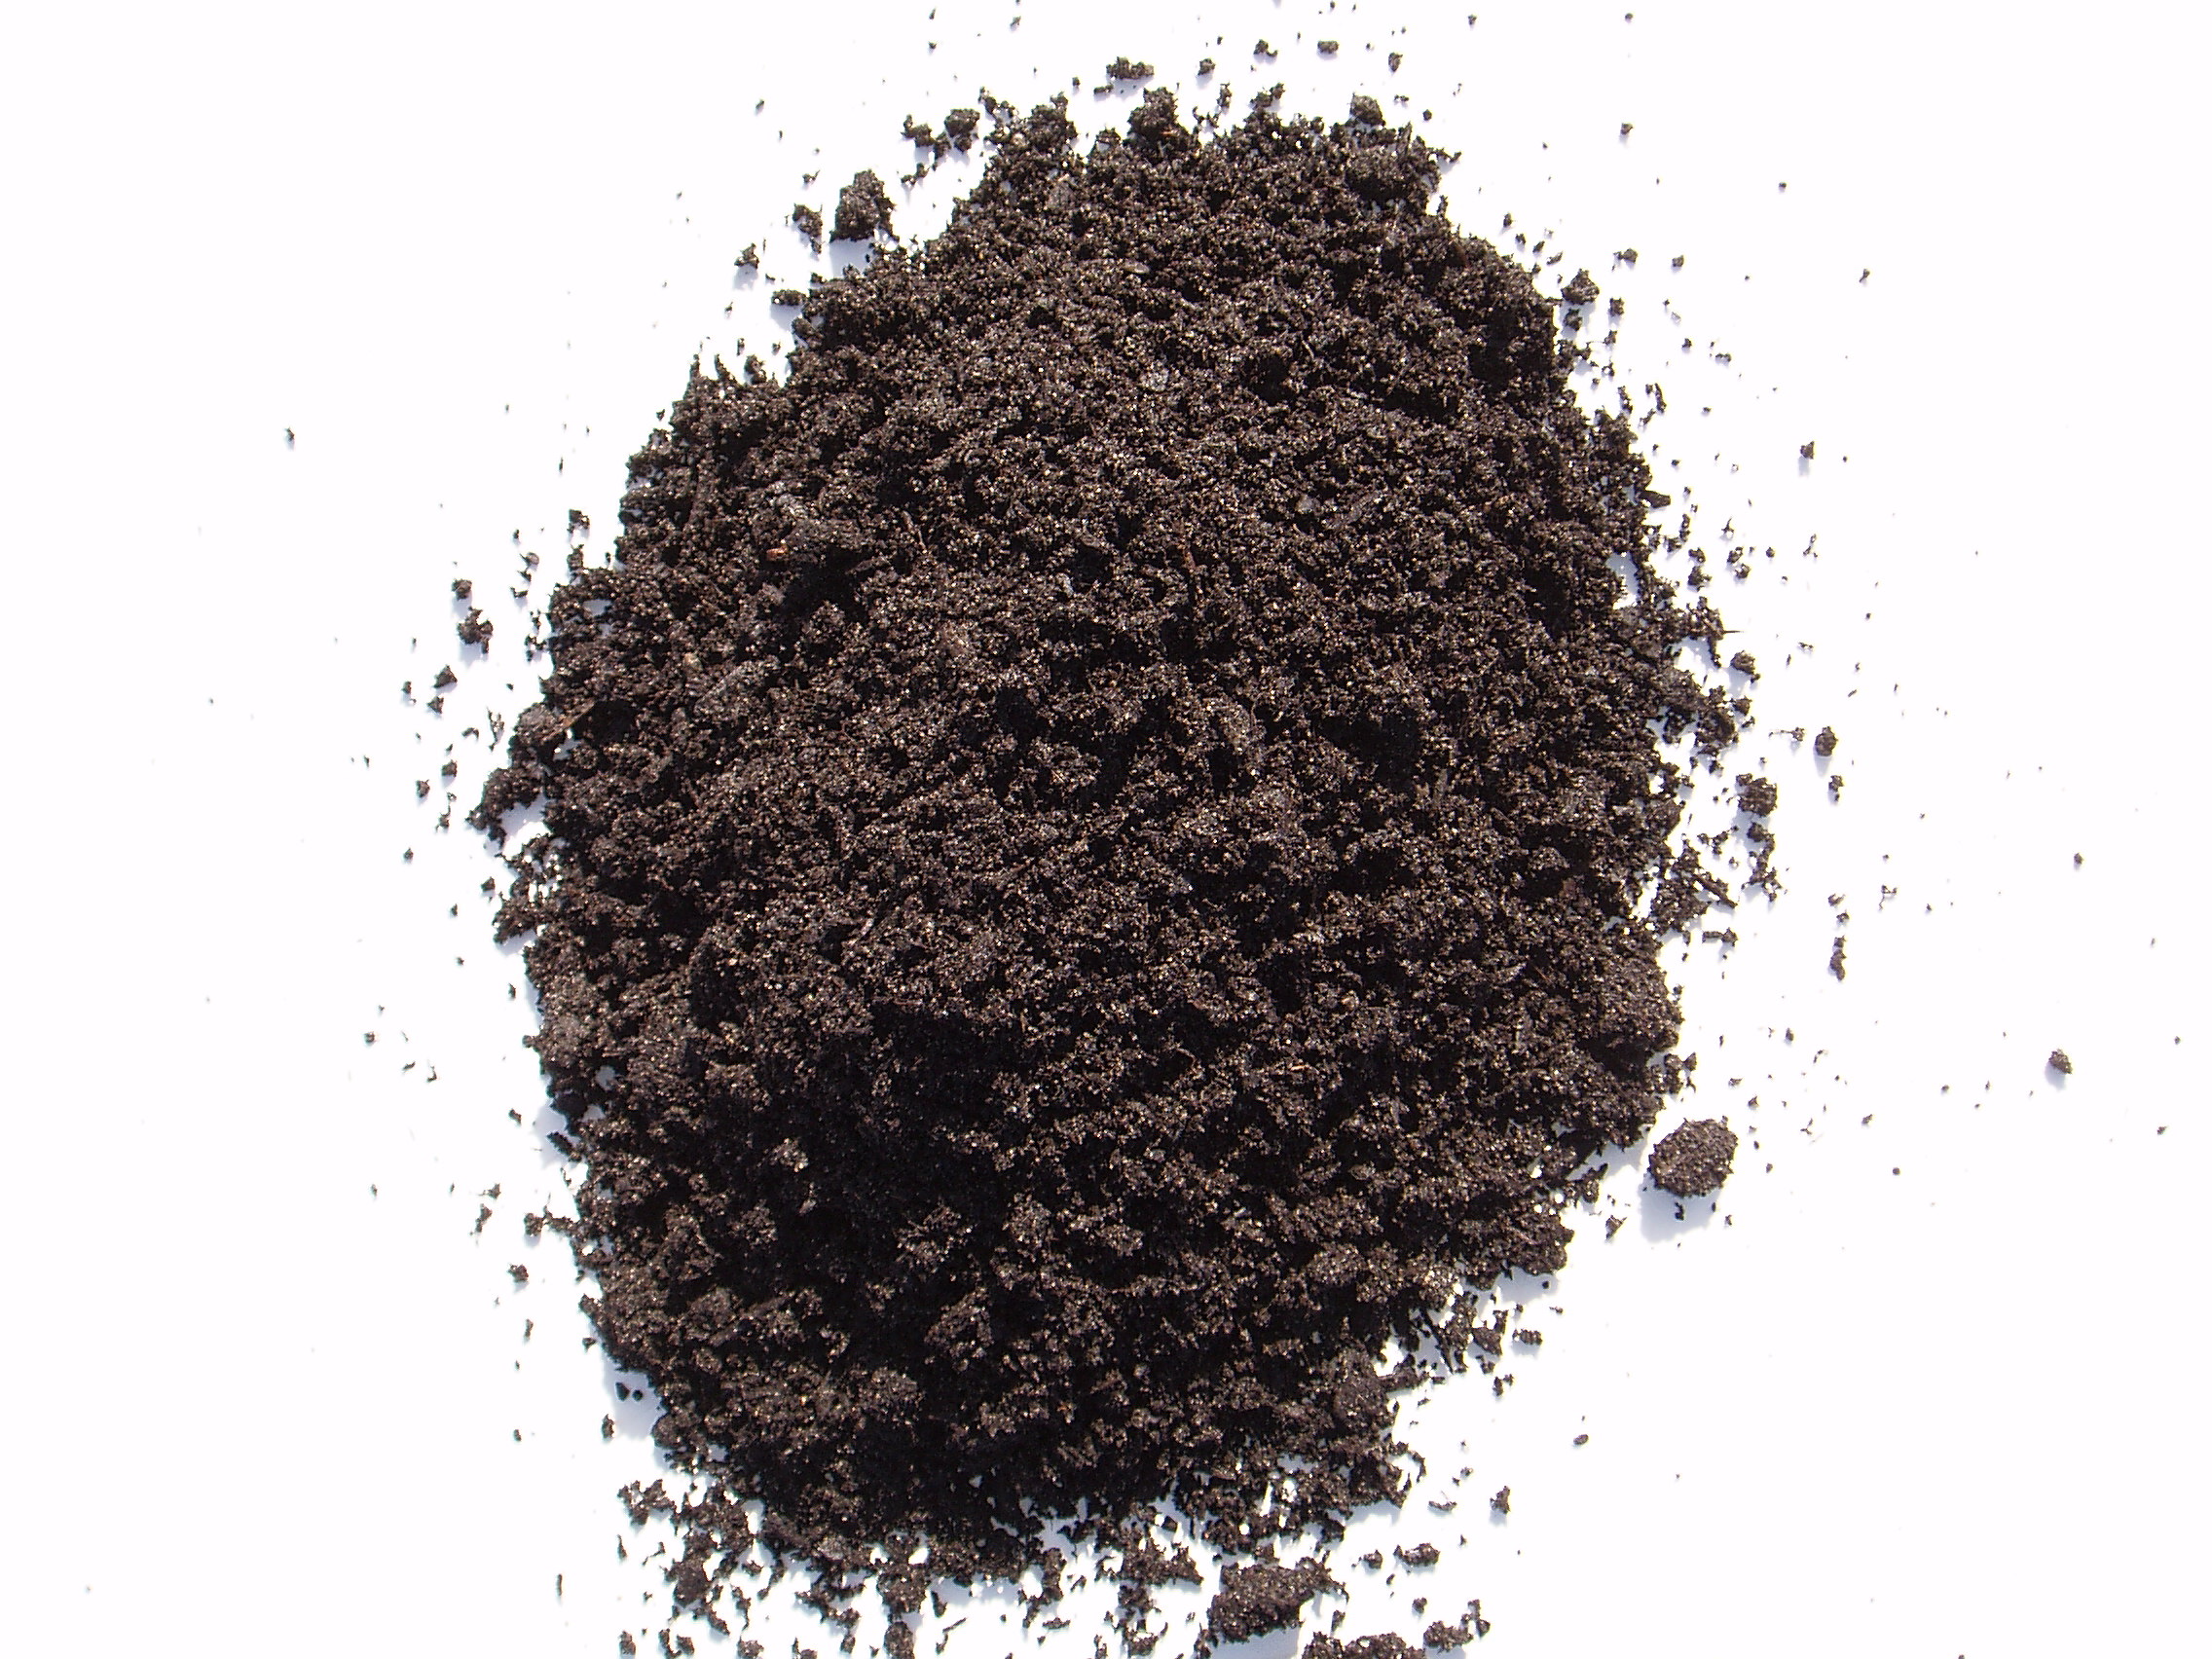
We’ll get this out of the way first, though: don’t ever call it dirt. Dirt is the stuff that ends up under our fingernails, and what we sweep off the floor. It’s something of a derogatory term, I feel. This is actually one of the first things that got drilled into us at horticulture school, and it stuck. We are all better off calling it soil, though even this is a bit of a misnomer, as what we typically use for indoor applications is a soilless growing media containing mostly organic material and no true mineral soil, such as you’d find in your backyard. ‘Soilless growing medium’ is a bit of a mouthful, though, so soil will suit our needs here.
First and foremost is peat moss. This material is partially decomposed sphagnum moss which comes in varying grades and qualities, and is the major component of most mixes, from the dusty garbage they sell you at the garden centre to the tried-and-true stuff used to produce countless acres worth of ornamentals of all sorts. When of an appreciable quality, it is best described as ‘fluffy’, and if you compare qualities side by side, the difference is striking. Quality peat is light in colour and feel and has varying larger particle sizes, which allows for good aeration. It also has a good water-holding capacity without becoming mud when very moist. It is relatively long-lived, though it does degrade over time. The other stuff is dense, with mostly small particle sizes, and is basically a more decomposed version of the nice stuff (being dredged from deeper in the peat bogs from which the material is drawn [the sustainability of which practice may come up in a future post]). It does become mud when you try and water it. It’s basically garbage, because it becomes a real challenge to ensure that a plant’s roots are able to absorb enough oxygen to keep from dying.
It’s important to make sure if you’re going to be purchasing straight peat moss for use in your own recipes that it is buffered: peat moss on its own is highly acidic (and is used as an amendment for acid-loving plants such as plants in the Ericaceae family such as blueberries), and bufffering will raise the pH from 4 or so up to about neutral (7), which is where most species will be best suited.
There is an alternate material to peat moss made from the husks of coconuts, called coir. It also comes in differing types, from roughly chopped husks to finely ground fibres. It is longer-lasting than peat, and also is less hydrophobic, meaning it will more readily absorb water when it is dry, which is handy. One serious issue is with the source of this material: as coir is processed it is often washed in seawater, and unless it is thoroughly cleaned can impart some serious saltiness to one’s plants, with the obvious devastating effect that you might expect. It is important to only buy this stuff from a reputable source (hydroponics stores usually stock it), or to process it yourself in order to ensure it is fit for use.
Perlite is usually the other component in soilless mixes. This is an expanded volcanic mineral which imparts greater aeration and water-holding capacity to the mix. It is not fertilizer, nor is it styrofoam, or anything else I’ve heard it being referred to as. It comes in varying sizes, with larger pieces being used for things like bark-based orchid media. It is admittedly ugly and unnatural looking, and has the bad habit of floating to the top of the container when watered heavily.
On that note, bark and sand are two more materials which can be found in some mixes, also in order to create more room for air in the growing medium. Sand is a bit outdated, but it’s cheap, and can be found in the dirt that’s marketed for cacti and succulents. Bark is more useful, but does break down eventually. Vermiculite is another mineral that is sometimes also used for enhanced water retention and aeration porosity. Other materials in specialty mixes are long-figer sphagnum moss, which is the undecomposed version of peat moss (you’ve probably seen orchids grown in this), and which greatly increases the water-holding capacity of a mix, tree fern fibre (a durable material derived from tropical tree ferns which creates a really nice open mix for things like epiphytes) and charcoal, which has little value past increaasing aeration porosity and its longevity.
So with that out of the way, basically what we’re looking for is a medium that provides the right mix of water-holding capacity to air-holding capacity for the type of plants we wish to grow, and for the amount of water we are applying. A decent basic soilless mix such as Berger’s BM6 contains about 75% peat to 25% perlite, and I’ve grown an extensive array of plants in this without any amendment. It can hold a lot of water if you let it, but it’s also a very good mix for keeping lightly moist, as it does drain quite freely. Again, if you let it go bone dry it will be difficult to rewet due to the hydrophobic nature of the peat, so bear that in mind. A lot of growers of gesneriads advise amending a mix like this to more of a 1:1 peat to perlite ratio, and while there’s definitely no harm to it, I’ve been able to grow most gesneriads I’ve worked with in just the basic mix by simply avoiding overwatering.
If you are heavy-handed with the watering can you may benefit from amending your mix, but there is such a thing as too light a mix as well. With increased aeration comes reduced water-holding capacity, and less than adequate watering can quickly lead to dessication. High temperatures and low humidity can also contribute to a more rapid drying of the media, and in some cases it may even be beneficial to have less aeration porosity in your mix: there are some unforgiving plants which are goners after they dry out even once (you’ll notice that the growing media of most ferns you see available, for example, do not even contain perlite).
How you use the mix will play a large role in how it performs. One of the most important things that needs your attention is that the media loses its functionality when it is crammed and forced firmly into the pot. While it does seem to hold a plant in place very well, this basically reduces all of those nice large spaces between soil particles that would ordinarily hold air, reducing them to a size that is then only capable of holding water. That’s bad news for plant roots, and maybe a bit of a slight to the hardworking folks who spend all that time developing and optimizing their professional growing media for the perfect aeration porosity. Slightly overfilling the container with soil and them watering the plant in gently but thoroughly will do wonders for securing the plant as the soil settles into itself, and the integrity of the mix will be preserved, allowing you (and of course, your plants) to take full advantage of its properties.
When watering these mixes, particularly when the container has been freshly planted, it is best to use a watering can or hose with a breaker in order to keep from disturbing the soil surface: in time, the soil’s microbiology will colonize the media and produce exudates which hold everything together nicely and make it easier to throw water on without having to worry too much about taking the extra time (good news for professionals).
Remember, too, that if you’re using any organic material at all, it will eventually decompose, and the soil will need to be changed. I won’t go into repotting here, but if you seem to have problems that could be explained by overwatering even though you’ve been doing everything the same way for a long while, decomposition of the media may be the issue.
A note on terrariums, particularly ones which actually have half a chance of success and aren’t just a few succulents thrown into a glass bubble because someone saw it on Pinterest (yes, I have a serious hate on for the current terrarium craze; so much so that I’ll likely rant aout it in another post): I want to draw your attention to the fabled ‘ABG mix’, one of a few substrate recipes whipped up by Atlanta Botanical Gardens for plants in their collection. This stuff has really caught on in the vivarium hobby (basically a planted terrarium that houses creatures like lizards or frogs), as it has perfect drainage and very long life, which are two things that can plague a planted glass enclosure. The mix commonly used is as follows:
1 part peat moss (or coir)
1 part milled sphagnum moss (ground or chopped long fiber sphagnum moss)
1 part fine horticultural charcoal
2 parts tree fern fibre
2 parts fine bark
You can have many years of enjoyment with this mix in the warm, humid conditions of a terrarium without it breaking down, and another bonus is that it looks way more natural than a peat/perlite container medium. If you play around with the ratios you can also create a great mix for houseplants that also resists decay and can allow you to go for quite some time without needing to repot due to substrate decomposition.
OK, one last thing about container media that has to do with drainage. There is an adage that many of you have no doubt heard about putting pot shards, gravel, or other material in the bottom of the container before filling with soil to allow for better drainage. This is a useless and counter-productive practice, and here’s why: because of the way water interacts with itself and with soil particles (cohesion and adhesion, respectively), it will not move readily from an area with small spaces between particles to one with large space between particles. The top of a layer of gravel or whatever is pretty much the same to water in soil as the bottom of the pot, so basically all you’re doing is eliminating valuable real estate for plant roots, and potentially creating conditions in which too much water is held in the soil because it’s not draining properly. Use the same medium throughout the container and you will generally have better results.
The photos to the left illustrate perfectly the effect of having a larger-particled substrate over a finer-particled one: the water distributes itself throughout the top layer and does not move into the layer below until fully saturated. The myth of drainage is one of those many things in horticulture that has just been repeated so often everyone thinks it must be true (and have a look at the comments on the page I grabbed the image from to see the type of stubbornness to change that is basically rampant in the scene, professional and amateur alike. This was another of the first things that we learned at school, and we did a whole whack of labs that really drove the point home for us.
So there it is, long-winded as ever. The takeaway points, I guess, are: don’t buy shitty quality soil, don’t cram it into the container, don’t bother trying to improve drainage with other materials, and don’t put succulent plants in terrariums.